Conditions for Royalty Options

As our name suggests, we would never restrict our clients to a static set of royalty calculation types to choose from. In fact, quite the opposite:
In the details you will probably discover so many ways to calculate royalties that you may even be surprised that such terms actually exist! Well, yes, they do ….


Here is an overview of options to choose from that can be applied to royalty options in Royalty Contracts.

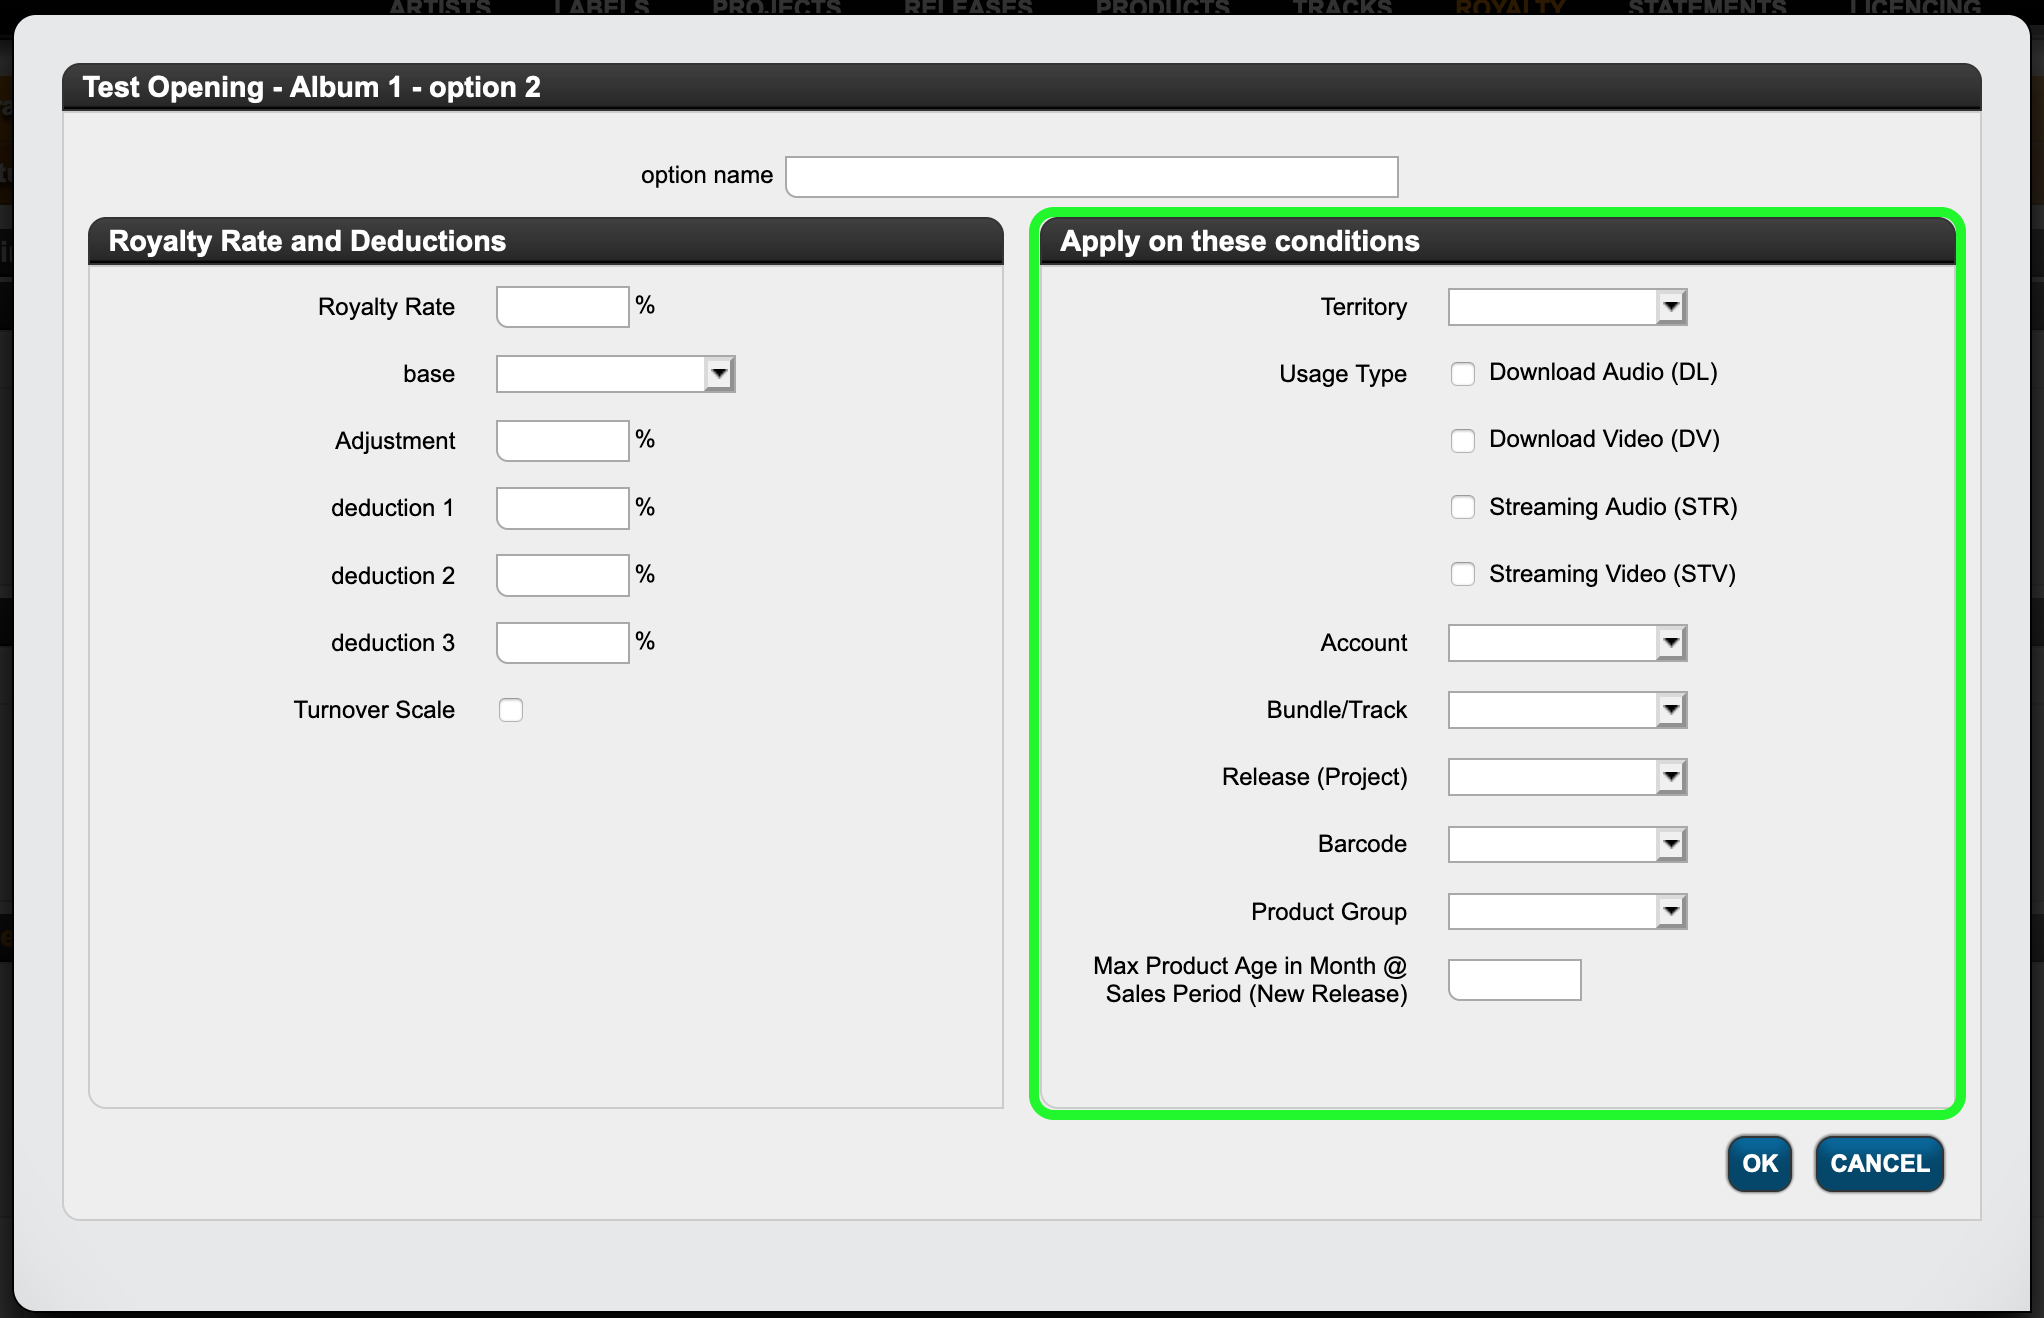
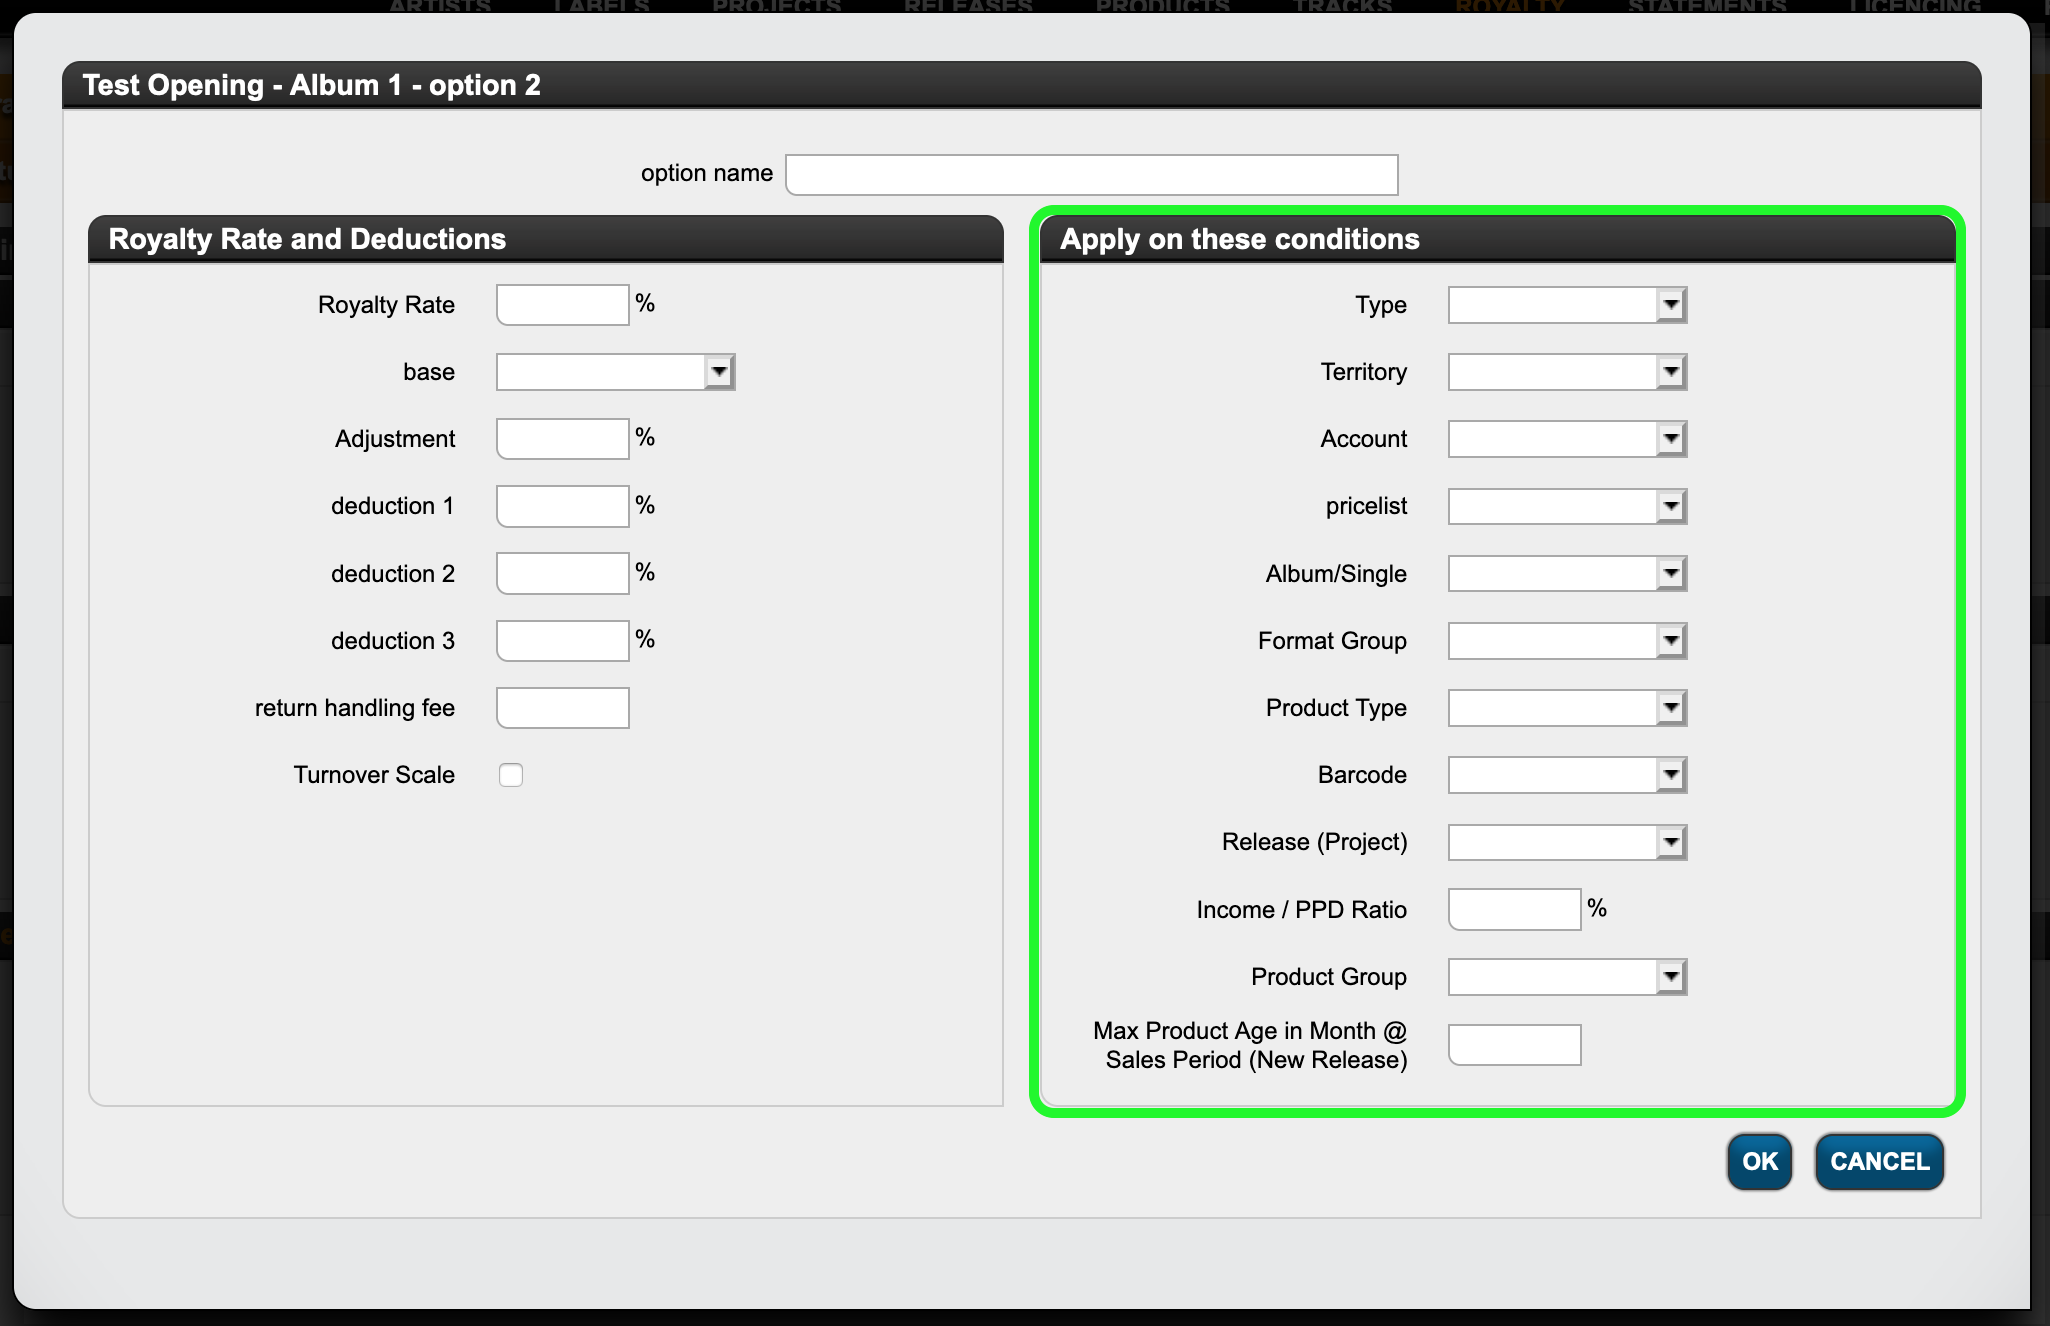
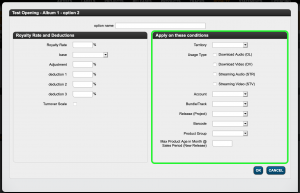
You can find those conditions on the right-hand side of the modal window to set your royalty rates.

Think of the conditions as a filter that triggers the application of the current rule:

IF the conditions on the right are met, THEN the rate and deductions on the left will be applied.

Let’s start with digital :
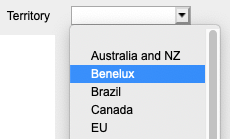
  • In the details you may apply a royalty option to a selected territory.Territories are customizable groups of countries which can be set in SETTINGS / GENERAL.
  • You can also specify which type of digital sale should be affected by the current rule.
    We differentiate 4 different usage types in details:
    Audio Download
    (“DL”)
    Video Download
    (“DV”)
    Audio Streaming
    (“STR”)
    Video Streaming
    (“STV”)

    NOTE: If you do not explicitly pick one of these options, the system will include all of them in the calculation. If you select specific ones, however, the current rule only applies to sales of those usage types.

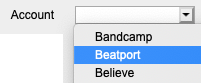
  • Another filter option is by distribution account, i.e. by source. With this option you may select to have sales accounted on a specifc rate when sold by a specific digital distributor / aggregator.

  • You can also choose to apply a royalty option specifically on bundle (album) or track sales only.

  • If you have contracts that include multiple releases and you want a particular rate to apply to a particular one only, specify the release covered by the royalty option.

  • The same applies to products. If you have contracts that cover multiple products and you want a specific rate to apply to only one product, enter the barcode for that royalty option.

  • If, however, you want to combine not only one product but several products at your own discretion and have them processed according to one rule, create a product group and select it for this rule.

  • If your contract states a specific term for a royalty rate, set the duration of rule application from product release in months. This rule will apply only within the period since product release, which is the release date plus any product release shift.
    The period is defined in months, i.e. one year = “12” and three years = “36”.
    This rule will apply for sales made within the set period only and not beyond.

    Example: If you want a royalty option to change after x months after the product release, you will first have to define one of these rules, and then another rule with the royalty rate to follow after the end of the initial period.


For physical sales some options are the same, others are different:
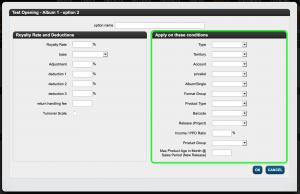
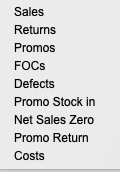
  • One particular aspect is the indication by type of sale. This condition allows you to set different royalty rates for sales than for returns, etc. See the list of sales types below.
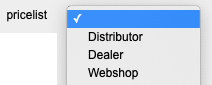
  • Another characteristic of physical sales is that they can be settled according to customised price lists. More information on price lists and price codes can be found here.
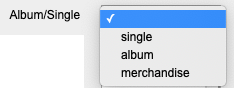
  • You can also create royalty options for predefined product categories, explicitly albums, singles and merchandise.
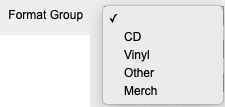
  • In addition you can customize your own product groups and set specific royalty rates accordingly.
Basic Actions: Labels

This article explains the core actions you can perform with labels in details. Use the sections below for step-by-step instructions.

► Create a Label

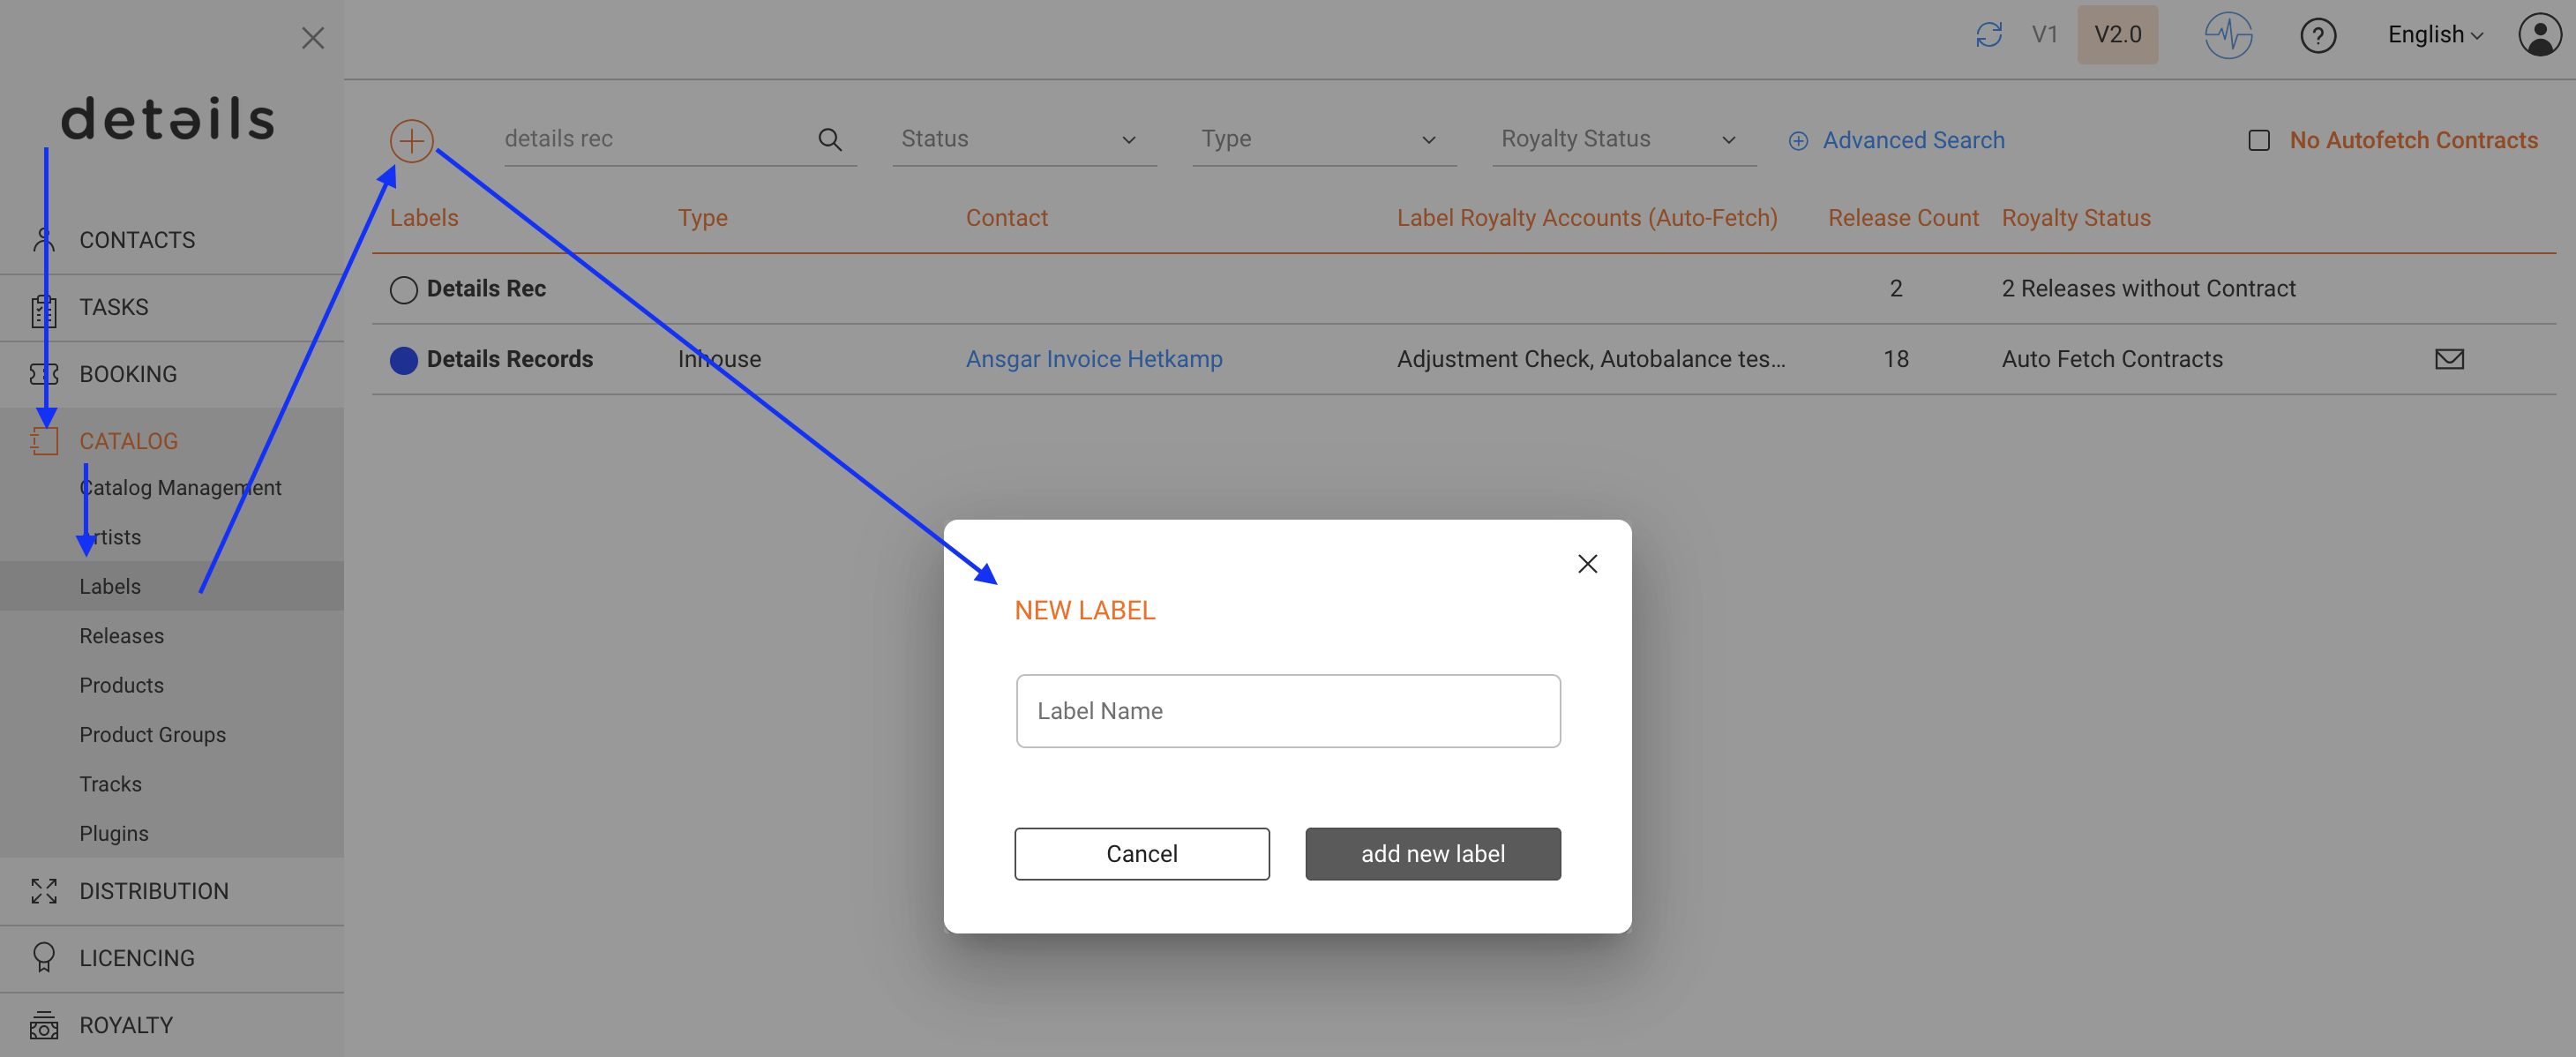
  1. Go to CATALOG / LABEL.
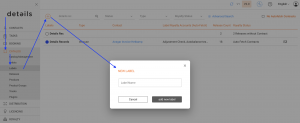
  2. Click [+] to add a new label.
  3. Save to create the label and open its detail tabs.

► Edit a Label

  1. In CATALOG / LABEL, click the label name.
  2. Adjust fields in any tab (OVERVIEW, INFO, SETUP, METADATA).
  3. Changes are saved automatically.

► Delete a Label

  1. Open the label and check RELATIONS for linked releases or products.
  2. Remove any linked items first.
  3. Back in CATALOG / LABEL, click [x] to delete the label.
Note: You can only delete a label if there are no releases or products linked to it.

► Configure Autofetch

Autofetch automatically links all new releases of a label to a royalty contract. Setup is done in the ROYALTY / CONTRACTS module.

For step-by-step instructions, see the dedicated Autofetch.


► Link Contacts

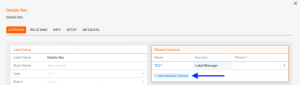
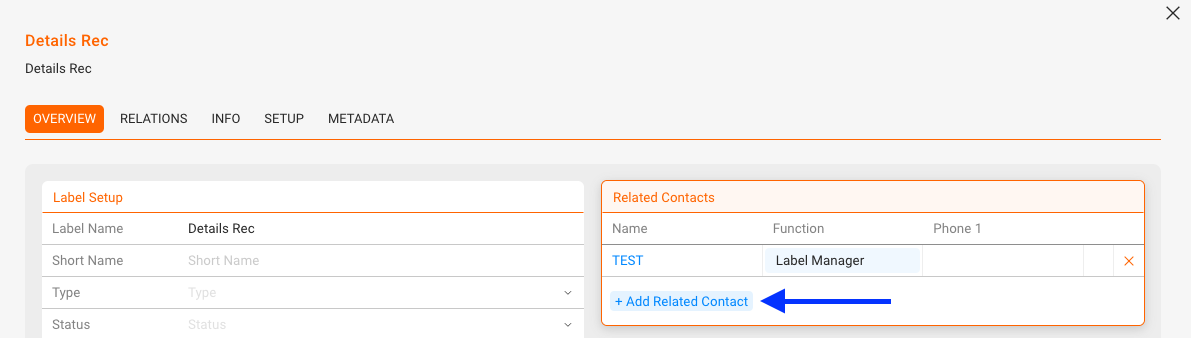
  1. Open the label and go to OVERVIEW.
  2. In Related Contacts, click [+] and select roles such as Label Manager, Accounting, or Promotion.

► Edit the Label Setup

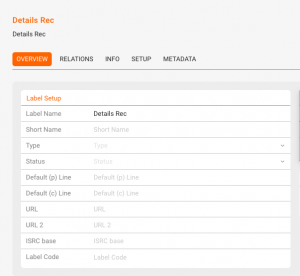
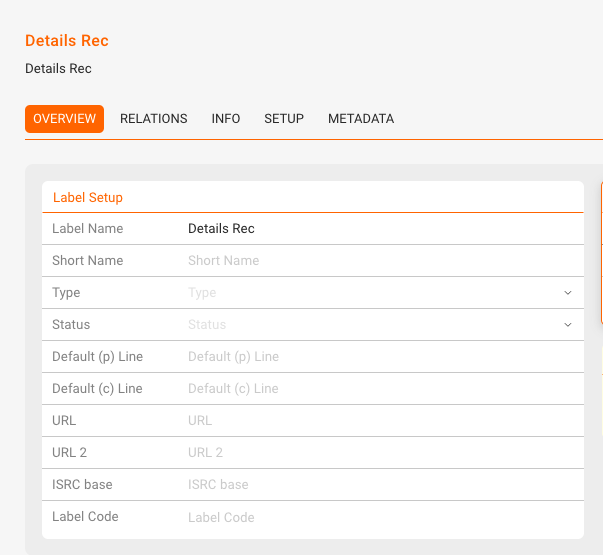
  • Change Label Name or Short Name.
  • Adjust Type (In-House, Distributed, External) and Status.
  • Enter Default P-Line and C-Line.
  • Add URLs (two link fields available).
  • Set ISRC Base and (if needed) Label Code.

► Add Bios, Logos and other files

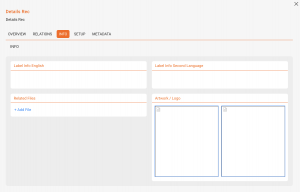
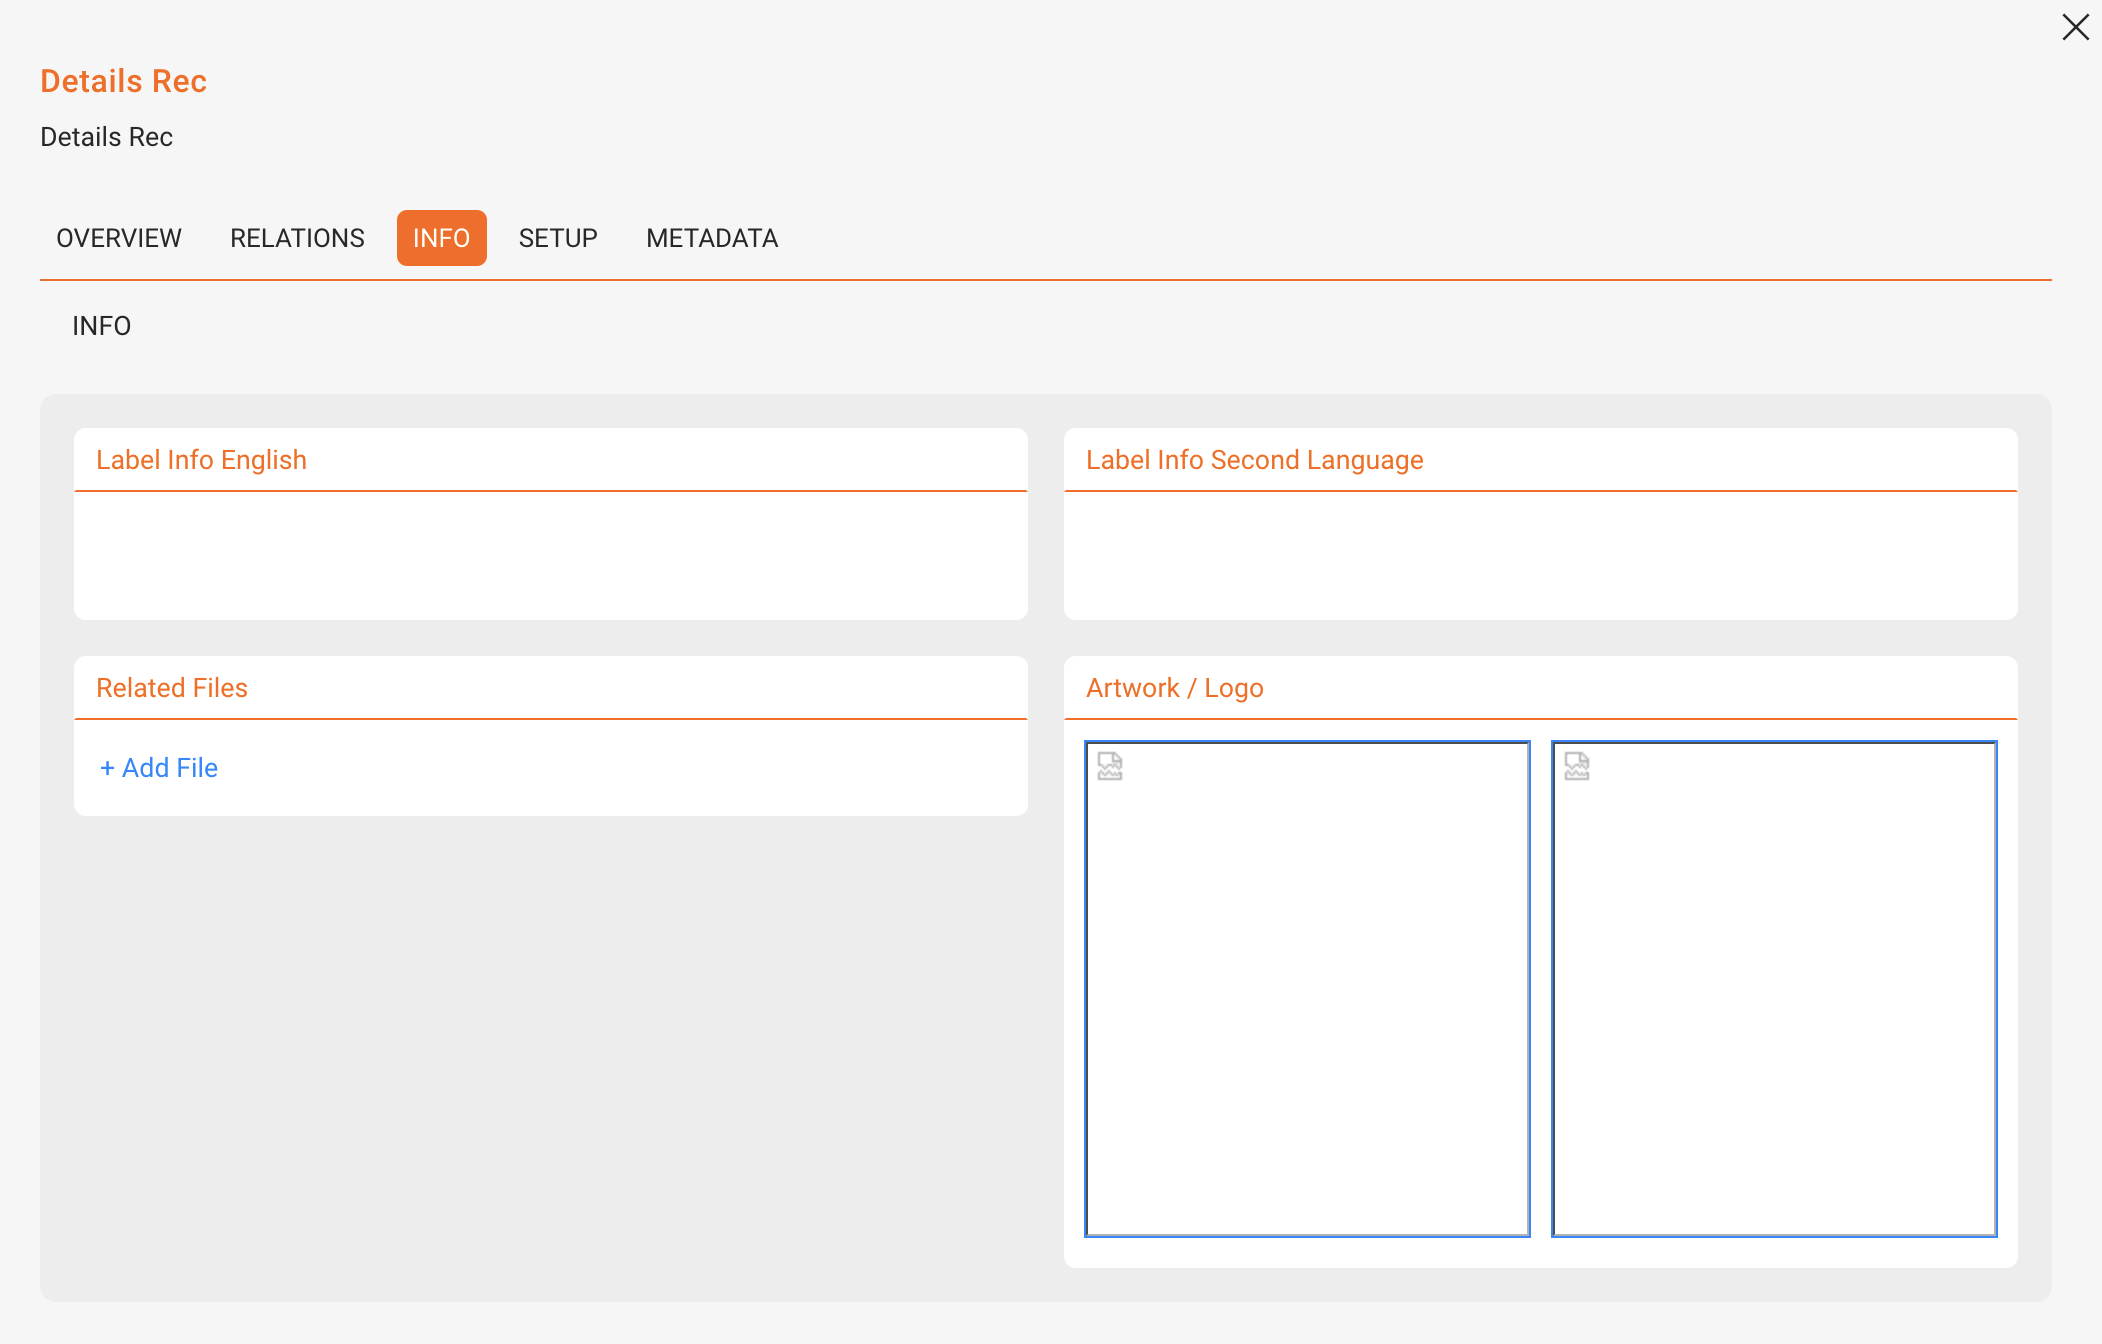
  • In INFO, enter label biographies in different languages.
  • Upload and select an Artwork / Logo.
  • Attach Related Files as needed.


► Add Relations and Products

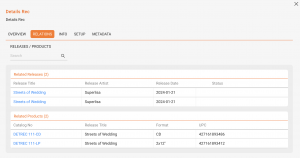
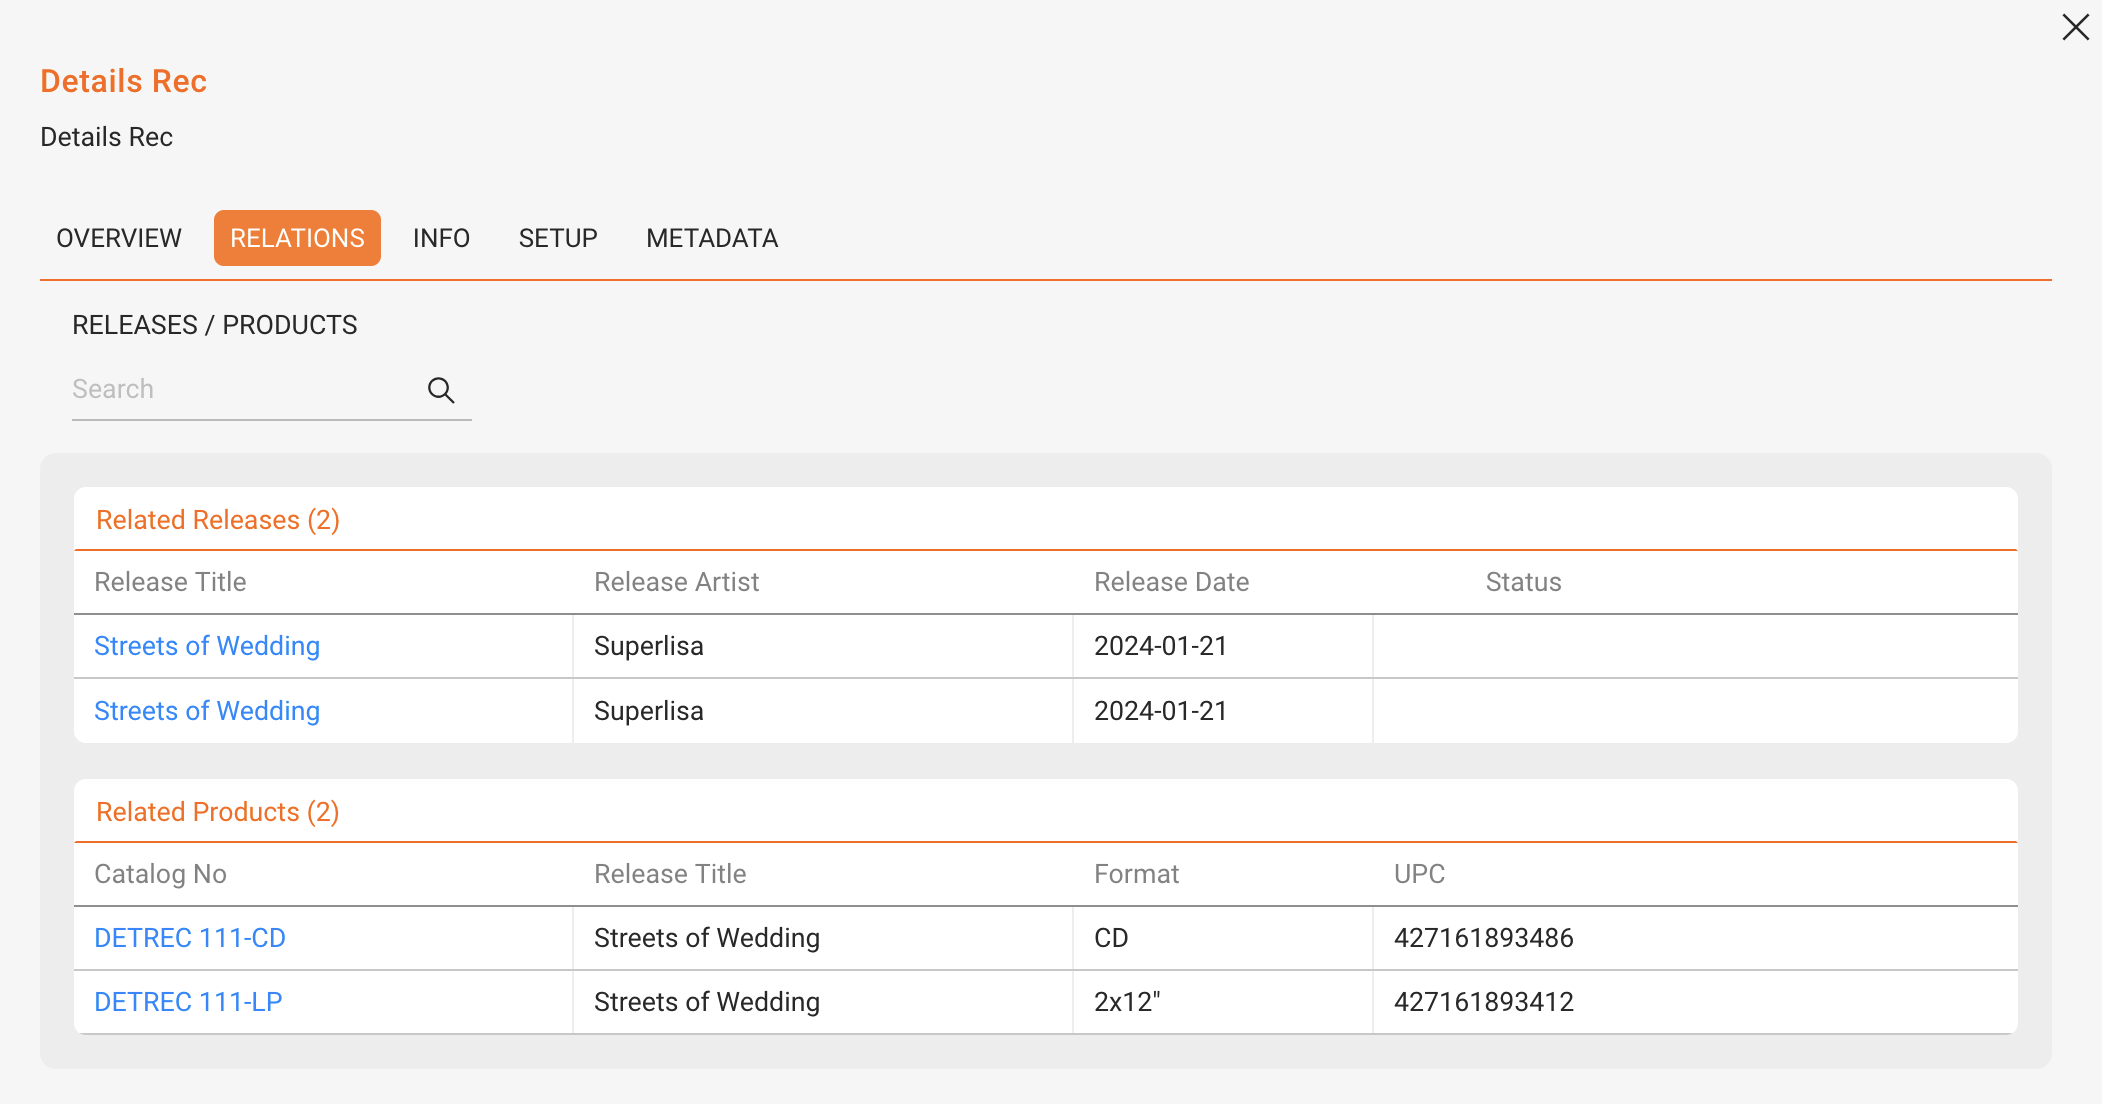
In the RELATIONS tab, you see all releases and products linked to the label. Use the search to filter, and click any entry to open the RELEASE or PRODUCT page. To add Releases (and therefore products) you have to connect a release in its inital creation process (data import or manually). A later change of label-release connection can be executed by the details team. Please contact us if needed.

► Add Territory Restrictions

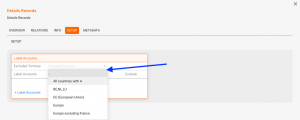
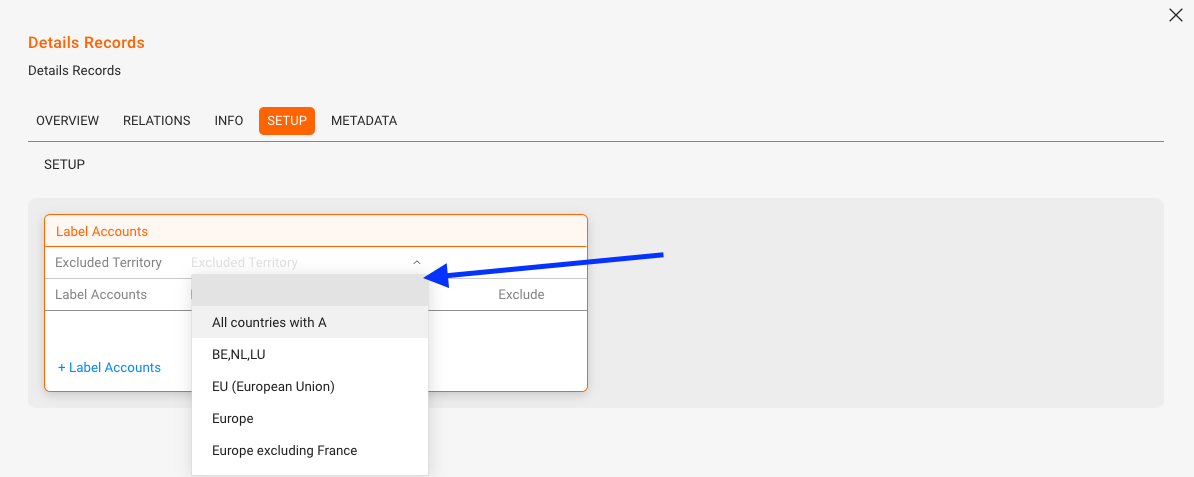
In the SETUP tab, define excluded territories where the label should not deliver.
If a territory is missing you can add it in SETTINGS / GENERAL / Territory via [+ Add New Territory].

► Set up Label Account Specifics

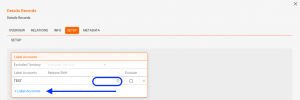
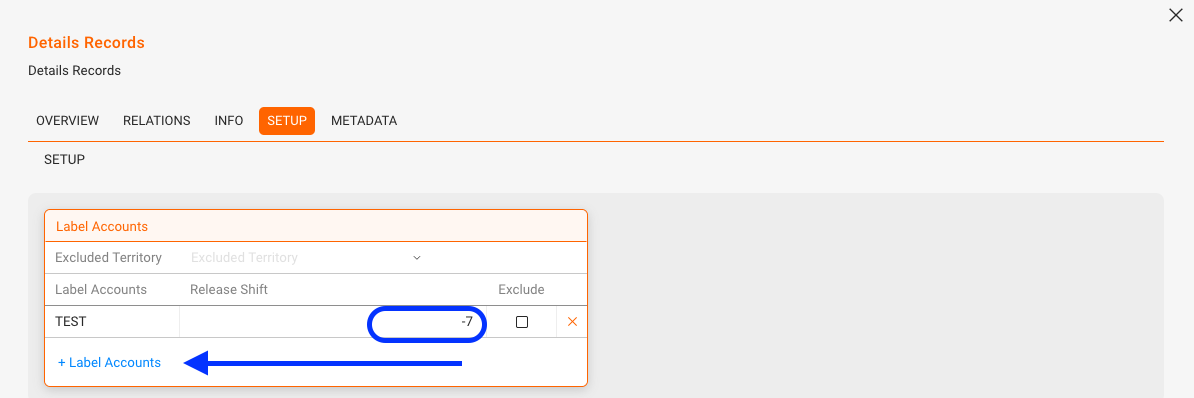
In the SETUP tab, configure label accounts. You can set Release Shifts per account or mark accounts as excluded.

Note: Release shifts are counted in days, and an early release is shown with a negative number.

► Add Metadata

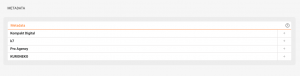
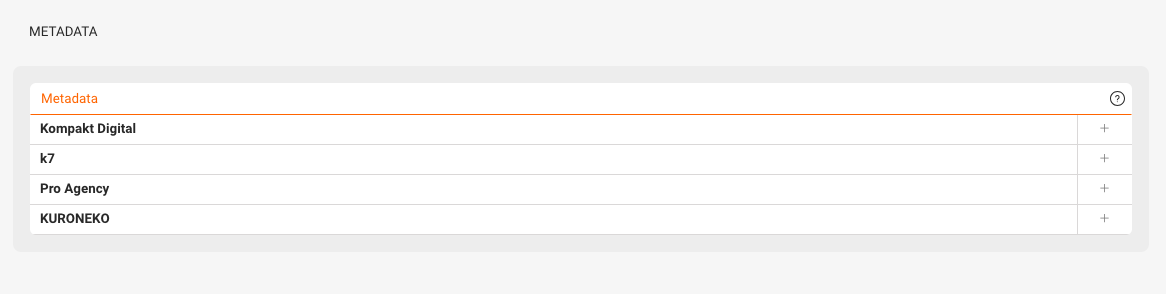
In the METADATA tab, attach predefined sets. If you want to enable or add metadata tabs, please contacting us.

Conditions for Royalty Options

As our name suggests, we would never restrict our clients to a static set of royalty calculation types to choose from. In fact, quite the opposite:
In the detYils you will probably discover so many ways to calculate royalties that you may even be surprised that such terms actually exist! Well, yes, they do ….


Here is an overview of options to choose from that can be applied to royalty options in Royalty Contracts.

You can find those conditions on the right-hand side of the modal window to set your royalty rates.

Think of the conditions as a filter that triggers the application of the current rule:

IF the conditions on the right are met, THEN the rate and deductions on the left will be applied.

Let’s start with digital :

  • In the detYils you may apply a royalty option to a selected territory.Territories are customizable groups of countries which can be set in SETTINGS / GENERAL.
  • You can also specify which type of digital sale should be affected by the current rule.
    We differentiate 4 different usage types in detYils:
    Audio Download
    (“DL”)
    Video Download
    (“DV”)
    Audio Streaming
    (“STR”)
    Video Streaming
    (“STV”)

    NOTE: If you do not explicitly pick one of these options, the system will include all of them in the calculation. If you select specific ones, however, the current rule only applies to sales of those usage types.

  • Another filter option is by distribution account, i.e. by source. With this option you may select to have sales accounted on a specifc rate when sold by a specific digital distributor / aggregator.


  • You can also choose to apply a royalty option specifically on bundle (album) or track sales only.

  • If you have contracts that include multiple releases and you want a particular rate to apply to a particular one only, specify the release covered by the royalty option.

  • The same applies to products. If you have contracts that cover multiple products and you want a specific rate to apply to only one product, enter the barcode for that royalty option.

  • If, however, you want to combine not only one product but several products at your own discretion and have them processed according to one rule, create a product group and select it for this rule.

  • If your contract states a specific term for a royalty rate, set the duration of rule application from product release in months. This rule will apply only within the period since product release, which is the release date plus any product release shift.
    The period is defined in months, i.e. one year = “12” and three years = “36”.
    This rule will apply for sales made within the set period only and not beyond.

    Example: If you want a royalty option to change after x months after the product release, you will first have to define one of these rules, and then another rule with the royalty rate to follow after the end of the initial period.


For physical sales some options are the same, others are different:

  • One particular aspect is the indication by type of sale. This condition allows you to set different royalty rates for sales than for returns, etc. See the list of sales types below.

  • Another characteristic of physical sales is that they can be settled according to customised price lists. More information on price lists and price codes can be found here.

  • You can also create royalty options for predefined product categories, explicitly albums, singles and merchandise.
  • In addition you can customize your own product groups and set specific royalty rates accordingly.
Basic Actions: Labels

This article explains the core actions you can perform with labels in details. Use the sections below for step-by-step instructions.

► Create a Label

  1. Go to CATALOG / LABEL.
  2. Click [+] to add a new label.
  3. Save to create the label and open its detail tabs.

► Edit a Label

  1. In CATALOG / LABEL, click the label name.
  2. Adjust fields in any tab (OVERVIEW, INFO, SETUP, METADATA).
  3. Changes are saved automatically.

► Delete a Label

  1. Open the label and check RELATIONS for linked releases or products.
  2. Remove any linked items first.
  3. Back in CATALOG / LABEL, click [x] to delete the label.

Note: You can only delete a label if there are no releases or products linked to it.

► Configure Autofetch

Autofetch automatically links all new releases of a label to a royalty contract. Setup is done in the ROYALTY / CONTRACTS module.

For step-by-step instructions, see the dedicated Autofetch.


► Link Contacts

  1. Open the label and go to OVERVIEW.
  2. In Related Contacts, click [+] and select roles such as Label Manager, Accounting, or Promotion.

► Edit the Label Setup

  • Change Label Name or Short Name.
  • Adjust Type (In-House, Distributed, External) and Status.
  • Enter Default P-Line and C-Line.
  • Add URLs (two link fields available).
  • Set ISRC Base and (if needed) Label Code.

► Add Bios, Logos and other files

  • In INFO, enter label biographies in different languages.
  • Upload and select an Artwork / Logo.
  • Attach Related Files as needed.


► Add Relations and Products

In the RELATIONS tab, you see all releases and products linked to the label. Use the search to filter, and click any entry to open the RELEASE or PRODUCT page. To add Releases (and therefore products) you have to connect a release in its inital creation process (data import or manually). A later change of label-release connection can be executed by the details team. Please contact us if needed.

► Add Territory Restrictions

In the SETUP tab, define excluded territories where the label should not deliver.
If a territory is missing you can add it in SETTINGS / GENERAL / Territory via [+ Add New Territory].

► Set up Label Account Specifics

In the SETUP tab, configure label accounts. You can set Release Shifts per account or mark accounts as excluded.

Note: Release shifts are counted in days, and an early release is shown with a negative number.

► Add Metadata

In the METADATA tab, attach predefined sets. If you want to enable or add metadata tabs, please contacting us.